When print quality problems appear on a UV printer, many people blame the machine first.
In reality, ink and curing performance are often the real reasons behind inconsistent results.
Understanding how these two factors work together can help you avoid common issues and achieve more reliable output.
1. Ink Quality Determines How the Print Holds Up Over Time
UV ink doesn’t just affect color appearance. It affects how the print behaves after delivery.
In daily production, low-quality or mismatched ink often leads to:
- Weak adhesion on certain materials
- Cracking or peeling after curing
- Fading or color shift over time
These problems usually don’t show up immediately. They appear after handling, installation, or customer use — which is when reprints become expensive.
Good UV ink should remain flexible after curing and maintain adhesion across different substrates.
2. Ink Density Affects Both Color and Surface Finish
Print quality is not only about resolution. Ink density plays a major role in:
- Color saturation
- Surface smoothness
- Edge sharpness
Too much ink can cause:
- Raised surfaces or uneven texture
- Slower curing
- Reduced scratch resistance
Too little ink results in weak colors and poor coverage.
Balancing ink density is essential for achieving both visual quality and durability.
3. Curing Performance Is as Important as Ink Quality
UV curing is what turns liquid ink into a solid, usable print.
If curing is insufficient, even high-quality ink will fail.
Common curing-related issues include:
- Prints that feel dry but scratch easily
- Adhesion problems on glass or metal
- Ink that cracks when bent
Proper curing requires the right balance between UV lamp power, print speed, and ink formulation. Over-curing can also cause brittleness, especially on flexible materials.
4. Material Type Changes How Ink and Curing Behave
Different materials react differently to UV ink and curing.
For example:
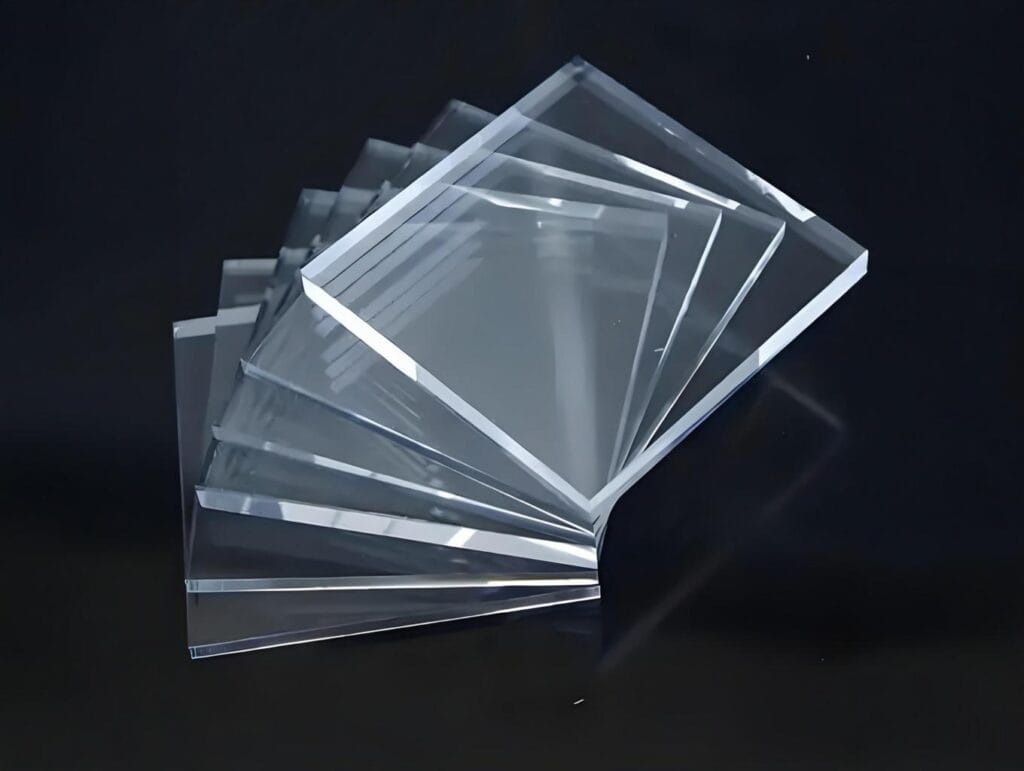
- Acrylic and PVC usually cure well but can show surface texture issues
- Glass and metal often need stronger curing and proper surface treatment
- Wood may absorb ink unevenly, affecting color consistency
This is why testing ink and curing settings on your actual materials is critical before full production.
5. Print Speed Directly Impacts Curing Quality
Print speed and curing are closely connected.
At higher speeds:
- Ink layers are thinner
- Curing time is shorter
- Adhesion issues become more likely
Slower speeds allow better curing but reduce productivity.
The goal is to find a production speed that balances quality, durability, and output efficiency.
6. Environmental Factors Are Often Overlooked
Temperature and humidity affect UV ink performance more than many operators expect.
Common problems include:
- Ink viscosity changes in cold environments
- Inconsistent curing in high humidity
- Color variation between seasons
Maintaining stable working conditions helps ensure consistent print quality throughout the year.
7. Long-Term Quality Depends on Consistency, Not Settings Alone
Many print shops focus on finding the “perfect” setting.
In practice, consistency matters more.
Using the same ink batches, maintaining curing components, and following regular maintenance routines help keep print quality stable over time. Frequent changes often introduce new problems instead of solving old ones.
Final Thoughts
Ink and curing are not separate parts of the UV printing process. They work as a system.
If print quality is inconsistent, adjusting machine settings alone is rarely enough. Understanding how ink formulation, curing power, and material type interact will help you produce prints that look good and last longer.