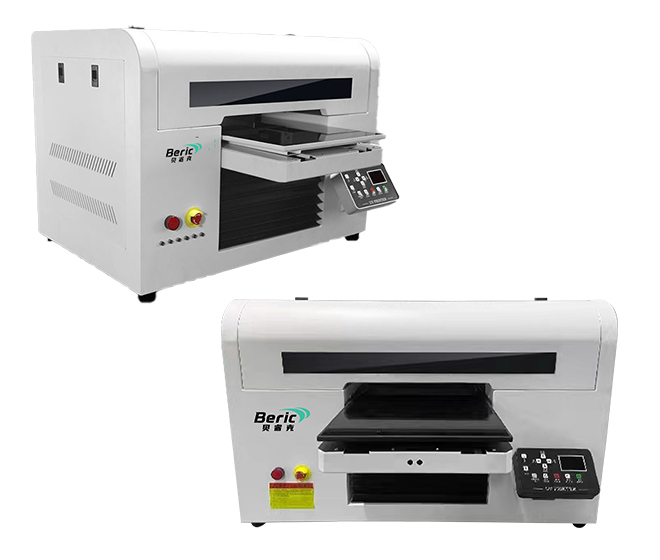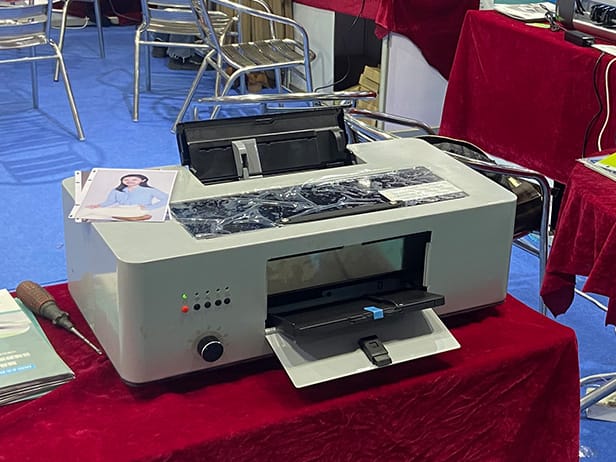
UV printing can produce sharp text, detailed graphics, and high-quality images on a wide range of materials. However, the final print may sometimes appear blurry, grainy, or less detailed than the original design.
Image clarity is not determined by the printer alone. It depends on the image file, print settings, UV ink, printhead condition, printing speed, curing process, and the surface of the material.
Start with a High-Resolution Image
The quality of the original image has a direct effect on the final print. A low-resolution image cannot be fully corrected by increasing the printer resolution.
Before printing, make sure the artwork has sufficient resolution for the intended print size. Enlarging a small image too much can result in blurred edges, pixelation, and loss of fine details.
For logos, text, product graphics, and other detailed designs, using a high-quality original file is especially important.
Check Printhead Condition
The printhead is one of the most important components affecting UV printing quality.
Blocked or partially clogged nozzles can cause missing dots, uneven lines, color gaps, and blurred images. Regular nozzle checks and proper printhead maintenance help maintain consistent inkjet performance.
If print quality suddenly becomes worse, checking the nozzle condition should be one of the first steps.

Use the Right Printing Resolution
Higher resolution does not always mean better printing results.
The appropriate resolution should be selected according to the application, material, image detail, and required production speed. For highly detailed graphics and small text, a higher-quality print mode may be appropriate. For large-format graphics viewed from a distance, a lower setting may provide sufficient quality while improving productivity.
Finding the right balance between resolution and printing speed is important for commercial UV printing.
Adjust the Number of Passes
The number of passes controls how many times the printhead moves across the printing area.
More passes can improve ink distribution and image smoothness, especially for detailed graphics, gradients, and high-quality applications. However, too many passes can reduce production efficiency.
The optimal setting depends on the printer, ink, substrate, and desired print quality.
Control Printing Speed
Printing speed can also affect image clarity.
When the printer operates at a very high speed, ink placement may become less precise, particularly when printing fine details or small text. Reducing the printing speed can sometimes produce sharper edges and more consistent image quality.
For high-detail applications, quality should be prioritized over maximum printing speed.

Choose Suitable UV Ink
UV ink quality has a significant influence on the final image.
The ink should have good consistency and compatibility with the printer and printhead. Poor-quality or unsuitable ink may result in uneven ink distribution, weak color performance, or unclear details.
Using compatible UV ink and maintaining the correct ink supply conditions can help achieve more stable printing results.
Pay Attention to UV Curing
UV ink is cured by ultraviolet light during the printing process. If the curing conditions are not properly controlled, the printed image may not achieve the expected surface finish and color performance.
The UV curing system should be correctly matched to the ink and printing conditions. Excessive or insufficient curing can both affect the final result.
Consider the Printing Surface
The substrate itself can affect image sharpness.
Smooth, flat surfaces generally provide better conditions for detailed UV printing. Rough, uneven, dusty, or contaminated surfaces can cause ink to spread irregularly and reduce image definition.
Before printing, the material should be properly cleaned and positioned. For certain applications, selecting a suitable primer or surface treatment can also improve ink adhesion and print quality.
Optimize RIP Software Settings
RIP software controls important aspects of the printing process, including color management, ink density, resolution, and printing modes.
Incorrect settings can lead to excessive ink deposition, poor color separation, or reduced image detail. Using suitable RIP profiles for different materials and applications can help maintain consistent results.
For professional UV printing, printer hardware and software settings need to work together.
Keep the Printer Properly Maintained
Consistent image quality requires regular maintenance.
Printhead cleaning, ink system inspection, nozzle checks, platform cleaning, and routine calibration can help prevent gradual deterioration in print quality.
A well-maintained UV printer is more likely to produce sharp and consistent images over long-term operation.
Better Image Quality Starts with the Whole Printing Process
Improving UV printing clarity is not simply a matter of increasing the printer resolution. The final result comes from the interaction between the artwork, printhead, ink, printing parameters, curing system, substrate, and RIP software.
By using high-quality artwork, maintaining the printhead, selecting suitable printing parameters, and matching the printer settings to the material, users can achieve sharper text, cleaner edges, and more detailed UV printed images.
For businesses producing phone cases, promotional products, personalized gifts, signage, packaging, and other customized items, proper printing setup can make a significant difference in both image quality and production efficiency.